JAMMA Input Display in Rust
I like Rust, the programming language. I’ve been lucky enough to use it at work but I am by no means a master. To get a little more comfy cozy, I decided to re-write my JAMMA Input Display in Rust.
You can find the code here on GitHub.
It was really easy thanks to a few Rust crates:
- tokio_gpiod - Uses the Tokio async runtime to provide an easy way to listen to the GPIO pins on a Raspberry Pi.
- warp - A web server framework that supports WebSockets for sending the inputs received over GPIO to the webpage display.
I wrote the original Node.js version back in 2014, crazy that it’s almost been 10 years!
What it looks like
I didn’t change the appearance from the Node.js version, but I did add the ability to label the buttons using query parameters to the webpage. Just open the webpage like so to label the buttons:
http://localhost:6528/?b1label=SHOT&b2label=FOCUS&b3label=BOMB&b4label=AUTO
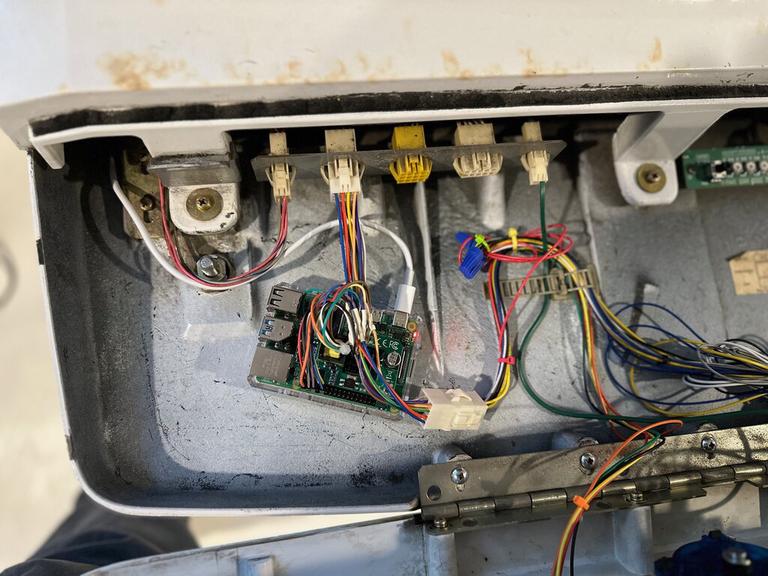
Here’s what it looks like in the physical world:
Interesting code bits
This is what the listener of the GPIO pins does. When it reads a GPIO event, it pushes a two-character message over a channel that then sends to all the attached websocket clients.
// Broadcast updates from GPIO to the thing that sends to clients
tokio::task::spawn(async move {
    // open chip. why gpiochip0? not sure! but it works!
    // at least it works on an RPi4b
    let chip = Chip::new("gpiochip0").await.unwrap();

    let opts = Options::input([16, 6, 20, 12, 19, 26, 21, 13]) // configure lines offsets
        .edge(EdgeDetect::Both); // We want events for both button up and button down

    let mut inputs = chip.request_lines(opts).await.unwrap();
    while let Ok(event) = inputs.read_event().await {
        // the 'line' matches the index of the Options::input
        // array above. So, pin 16, which is up, is index 0.
        let input = match event.line {
            0 => 'u', // up
            1 => 'd', // down
            2 => 'l', // left
            3 => 'r', // right
            4 => '1', // button 1
            5 => '2', // button 2
            6 => '3', // button 3
            7 => '4', // button 4
            _ => panic!("Unknown line"),
        };

        let state = match event.edge {
            tokio_gpiod::Edge::Falling => 'd', // pressed
            tokio_gpiod::Edge::Rising => 'u', // not pressed
        };

        // We send a 2 character message over the websocket, with the input
        // (i.e. 'l' for left on the joystick) and its state (i.e. 'd' for
        // pressed).
        //
        // So, push the joystick to the left = "ld", let go = "lu".
        gpio_tx.send(format!("{}{}", input, state)).unwrap_or_else(|e| {
            eprintln!("websocket send error: {}", e);
        });
    }
});
The JavaScript on the other side that receives that data over the websocket is also pretty simple. Based on the message that comes over the wire, we manipulate the class attributes on the joystick or button elements.
  var updateJoystick = function(switchName, val) {
    if (val == "d") {
      joystickPosition[switchName] = true;
    } else {
      joystickPosition[switchName] = false;
    }
    var classNames = ['joystick'];
    Object.keys(joystickPosition).forEach(function (key) {
      if (joystickPosition[key]) classNames.push(key);
    });
    joystick.className = classNames.join(' ');
  }

  var updateButton = function(button, val) {
    if (val == "d") {
      button.className = "button pressed"
    } else {
      button.className = "button"
    }
  }

  ws.onmessage = function(msg) {
      var input = msg.data[0]
      var state = msg.data[1]
      switch (input) {
      case '1':
          updateButton(button1, state);
          break;
      case '2':
          updateButton(button2, state);
          break;
      case '3':
          updateButton(button3, state);
          break;
      case '4':
          updateButton(button4, state);
          break;
      default:
          updateJoystick(input, state);
      }
  };
In closing
The Rust version has a smaller memory footprint and lower CPU usage than the Node.js version, but that really doesn’t matter. We’re talking about processing inputs at a human speed so either one is able to keep up just fine. However, it was a fun and easy project to port this over to Rust.
One of the things I love most about Rust is the community and the crates ecosystem. There’s a lot of help out there!